Introduction
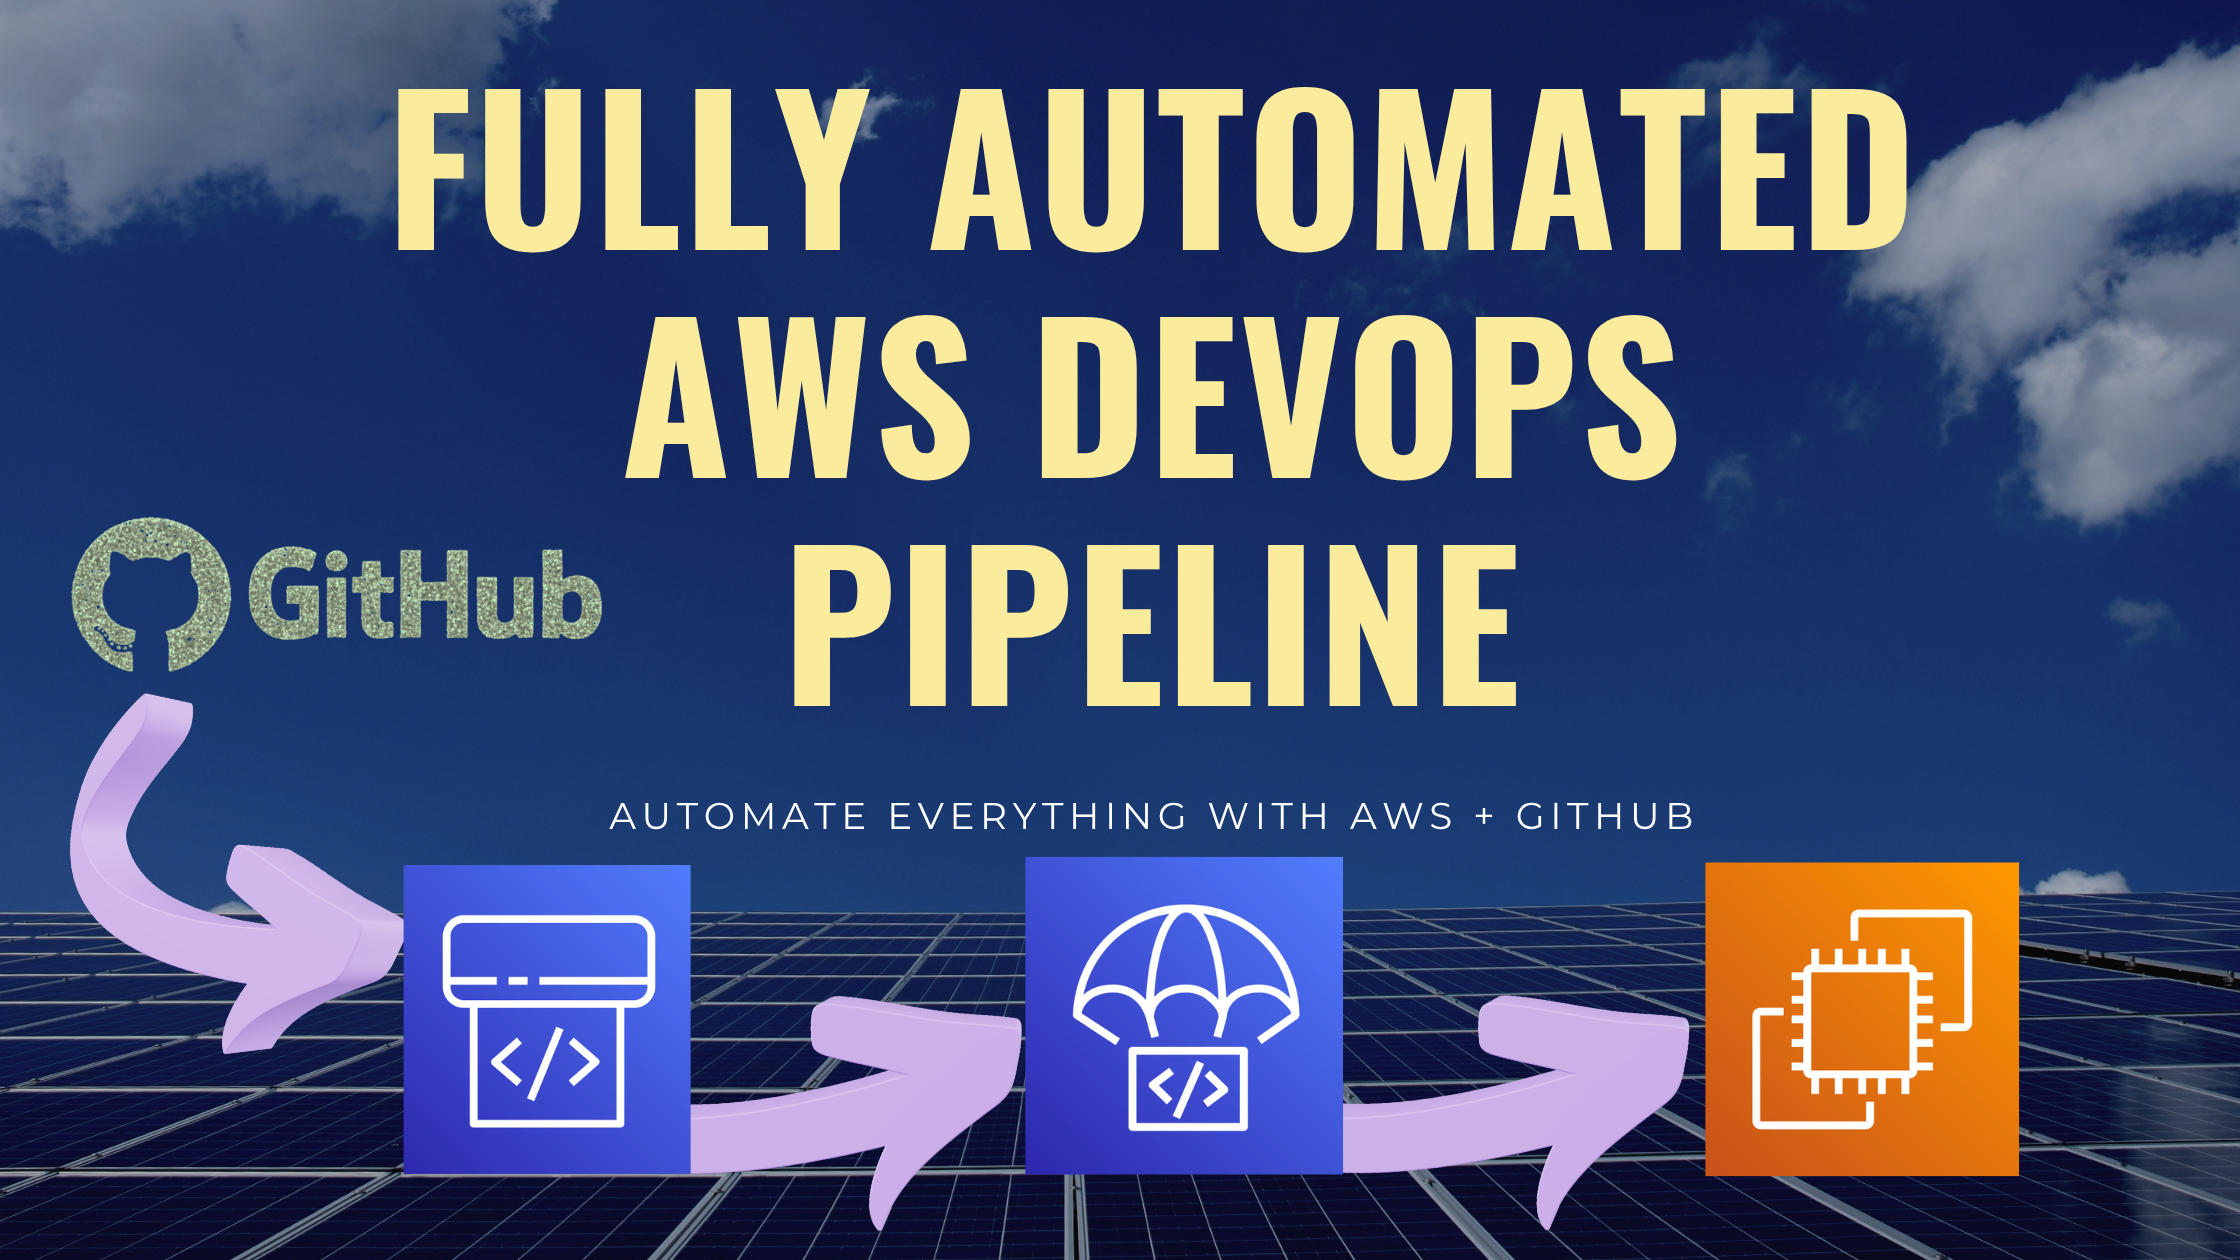
When you are building modern, scalable web applications, automation isn’t just a luxury it is a necessity. In this hands-on tutorial, I will show you how to set up a complete CI/CD pipeline for a Dockerized Flask application using AWS services. You will learn how to containerize your app, push it to Amazon ECR, and deploy it to ECS Fargate with seamless load balancing through an Application Load Balancer (ALB). Best of all, we will use AWS Copilot to simplify the entire process so you can focus on development, not infrastructure.
Let’s break it down step by step.
Prerequisites
Before we dive in, ensure you have:
- Docker installed
- AWS CLI configured with the right IAM permissions
- AWS Copilot CLI installed (brew install aws/tap/copilot or use binary)
- GitHub account (for CI/CD integration)
Step 1: Build a Simple Flask App
- Let’s start by creating a minimal Flask app in app/app.py

- Similarly create requirement.txt in apps/requirements.txt

- Run locally
pip install -r app/requirements.txt
python app/app.py
- Install git and push your code into github
git init
git add .
git commit -m "initial: flask app + Dockerfile"
git push -u origin master
Step 2: Dockerize the Flask App
- Create a Dockerfile in the same directory:

- Build and test your Docker image locally
docker build -t flask-ecs-app .
docker run -p 5000:5000 flask-ecs-app
- Visit http://localhost:5000/ to confirm it works.
Step 3: Initialize AWS Copilot
- For macOS (Homebrew):
brew install aws/tap/copilot-cli
- For Linux
curl -Lo copilot https://github.com/aws/copilot-cli/releases/latest/download/copilot-linux \
&& chmod +x copilot && sudo mv copilot /usr/local/bin/
- For Windows
New-Item -Path 'C:\copilot' -ItemType directory; `Invoke-WebRequest -OutFile 'C:\copilot\copilot.exe' https://github.com/aws/copilot-cli/releases/latest/download/copilot-windows.exe
[Note: provide system path in environment variable]

Step 4 : Configure AWS CLI
- Install and configure AWS CLI in your local machine. To see the process click here
Step 5: Use Copilot to create app + service + deploy (fastest path)
copilot init
Copilot will ask interactively:
- Application : cicd-copilot
- Workload name: select ALB web services
- Service Name: web
- Dockerfile Location: ./Dockerfile
- Port: 5000
- Deploy Now: Yes
Copilot will:
- Create an ECR repo, build image locally, push to ECR
- Create a VPC/subnets, ECS cluster, Task Definition, ALB, security groups, service (Fargate) and deploy
- Create CloudWatch log groups
Note: If you want non-interactive: you can run similar with flags (copilot supports flags) interactive is easiest for first run.
- After successfully init copilot then you output will be
https://web-devops-blog-alb-123456789.ap-south-1.elb.amazonaws.com
- Open that URL you should see the JSON {“message”:”Hello from AWS DevOps project!”}.
Step 6 : Verify and view logs
- Check the status of web
copilot svc status --name web
- Follow live logs
copilot svc logs --name web –follow
- You can also view task count or events
copilot svc show --name web
[Note: provide system path in environment variable]
Step 7 : Add CI/CD pipeline
- Inside repo
copilot pipeline init
- It will prompt:
- GitHub repository URL (enter GITHUB_USER/$GITHUB_REPO)
- GitHub personal access token (create one in GitHub with repo scope; paste when asked)
- Branch to track: main
- Buildspec: Copilot can create a default buildspec.yml. Accept default.
After pipeline init you will get copilot/pipeline.yml file in your repo. Now, push that manifest file in your github.
git add copilot/pipeline.yml
git commit –m “add copilot manifest file"
git push –u origin master
Now, create and update pipeline in AWS
copilot pipeline update
This will create a CodePipeline (with CodeBuild etc.) and connect to GitHub. On creation it may mention a commit status or ask to configure webhook (Copilot guides interactively). After pipeline is ACTIVE, any push to main will trigger it.
To trigger pipeline manually, change a small thing (e.g., update welcome message) and git commit and git push.
- Check pipeline status
copilot pipeline status
- Finally , you have successfully deploy your app automatiic pipeline CI/CD using ECR, ECS (Farget) and ALB with the help of AWS copilot services