When I first heard about CDNs and how they help websites load faster globally, I wanted to try it out myself using AWS. So, I decided to host a simple static website on Amazon S3 and serve it using CloudFront, AWS’s Content Delivery Network (CDN).
In this blog, I will walk you through the exact steps I followed, what went right (and wrong), and how you can do the same in less than 30 minutes even if you are just getting started with AWS.
What I Used
AWS S3 – To store and host the static website
AWS CloudFront – To cache and serve content globally
A simple HTML file – My “website”
Browser DevTools – To test caching behavior
Now, Let go to do something amazing !
Step 1: Create a Static Website
Create a static website
Step 2: Create and Configure an S3 Bucket
Go to S3 → Create Bucket
Name : your-bucket-name
Uncheck block all public access
Click on create bucket button
Go to bucket propertities and enable static website hosting
In index document : index.html
Click on Save Changes button
Upload your static website into your bucket.
Click on close button after uplaod all your static content
Go to bucket permission tab and search for bucket policy
Click on Edit button and paste the below policy to access your content publicly.
Go to bucket properties search for static website hosting block
Copy the URL from there and paste it your browser
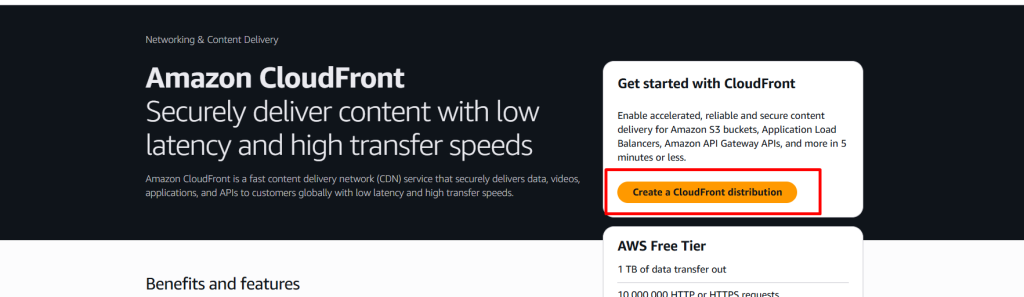
Step 4: Create a CloudFront Distribution
Go to CloudFront > Create Distribution
Distribution Option
Distribution Name: staticwebsite-CDN
Distribution Type: Single website or app
Click on Next button
Specify Origin
Origin type : Select Amazon S3
Origin: Select your website endpoint bucket URL not bucket URL
Origin Path: /index.html [If your index inside folder] other wise leave as blank
Leave as default remaing setting
Click on Next button
Secuirty Enable
I have select do not enable security protection but you have select enable in production level
Click on Next button
Review and click on create distribution
It will take few minutes to deploy.
Copy your cloudfront distribution domain and paste it your browser.
Step 5: Test Caching Behavior
Open Dev Tools → Network tab
Refresh the page multiple times
Check response headers:
X-Cache: Hit from cloudfront = From cache
X-Cache: Miss from cloudfront = Fetched from origin
Finally you deploy successfully your static website using CDN and S3 . This was a great little weekend project that helped me understand how CDNs work in real life. AWS gives you all the tools you just need to connect the dots. If you are learning AWS, this is a perfect place to start.
[Note: Don’t forget to delete resource if you are practice to avoid exttra cost]